
How to Grow Ranunculus
RANUNCULUS BASICS
Hardiness Zones: 8-10 fall planting (November-December in central Texas); in Zones 4-7 plant in the spring. 55º is their sweet spot for a bloom period of 4-7 weeks, plan accordingly. Protect from freezes.
Sun: Full sun but they don’t like heat, they start fading as soon as it starts getting warm
Soil: Light & airy, it must drain well. Add compost and organic fertilizer, with a breakdown of low numbers like 7-2-4. I like Microlife products.
Spacing: 8”-9”
Depth: 2-3”
Cut flowers: They can last for up to 14 days in a vase. Add flower food & change the water every other day. For the longest-lasting blooms, cut when the buds get soft like a marshmallow but before they open.

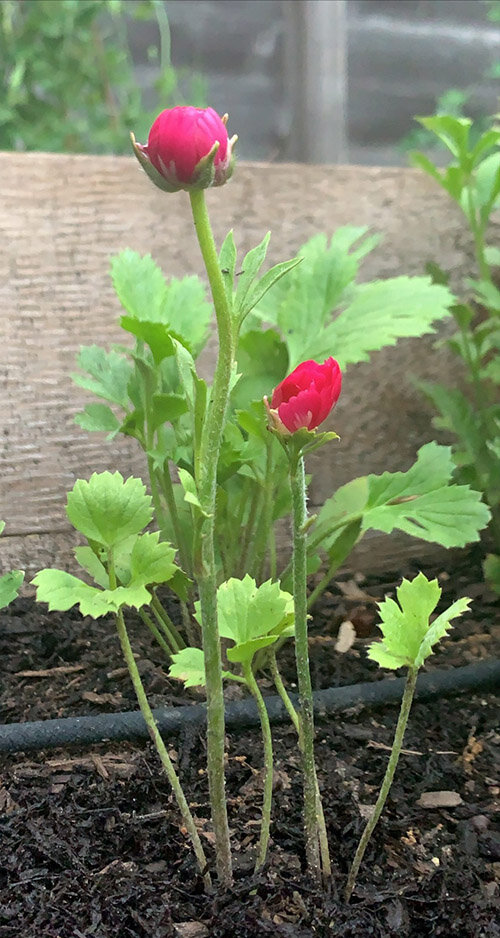
Ranunculus are some of the most beautiful flowers in the universe. Their layered, textural bloom colors range from ethereal and light to deep, dark, and moody. They are aspirational, luxury blooms, stars of many a bridal bouquet. Despite their status, they are incredibly easy to grow. Joy to the Max! You can gift a friend with a bouquet and say, “Oh these old things, I grew them” and then casually toss your hair a little, “no big deal.” Here’s everything I know about how to grow them successfully.
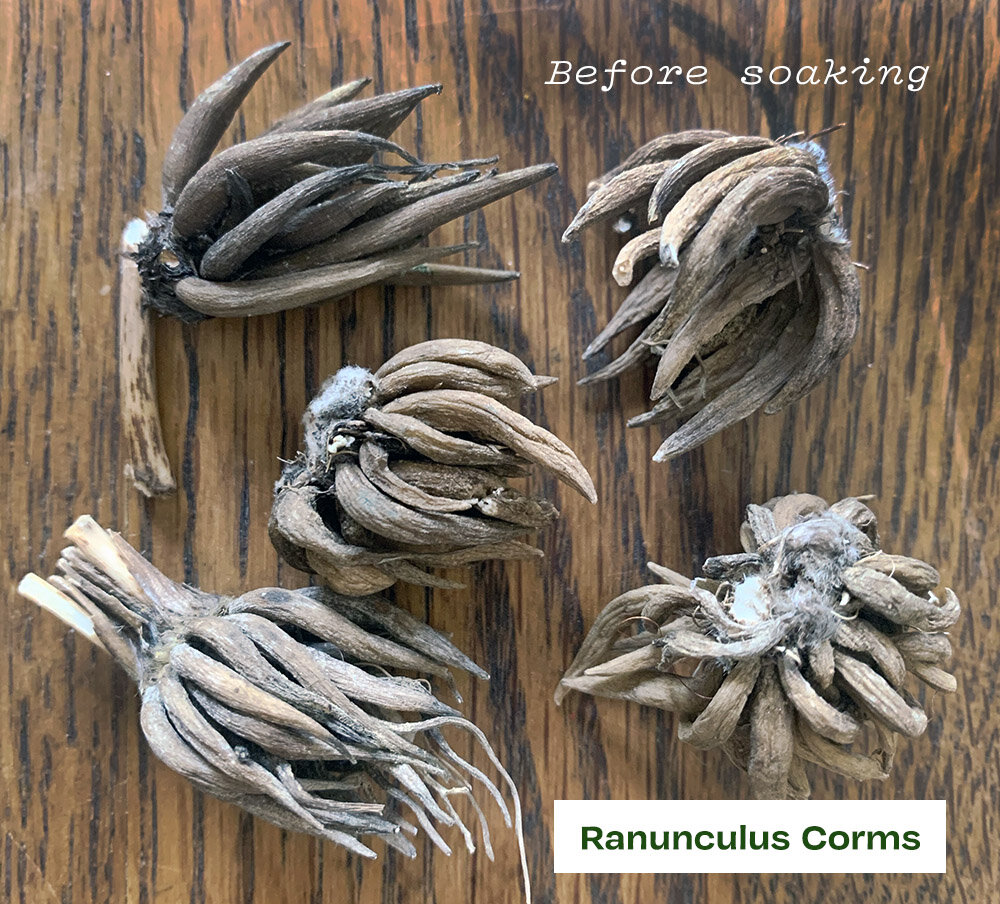
Rather than growing from a seed, ranunculus grow from corms.
They look like freaky, claw-like, dried out sea creatures, and you may find they are easier to grow than other flowers. No grow lights, no little containers, no tiny seeds to coax into life. They are a little fragile though when they are like this, dormant. They are dehydrated and crunchy, so be gentle, don’t snap their little legs off.

Help that corm grow to its fullest potential. If you find them at a nursery, try to find the biggest ones available. They are usually displayed in tubs or baskets and I’ll dig through the whole thing looking for the biggest ones. The larger they are, the more energy is stored inside them to channel into flowers. The largest ones can grow up to 10 flowering stems. The little ones will grow too though, don’t worry. Find a space for them in your garden where they can grow a nice, big root ball. If you are growing them in containers, choose something larger than you think you’ll need. Like saffron, ranunculus dislike being over-watered and need lots of bright sunlight to get weeks of blooms out. If you are growing in containers or grow bags, use a soil-less mix of coconut coir, vermiculite, compost, and perlite. If planting in the ground, amend your soil if the drainage is poor. They like it light and airy. They will grow their roots all fall and then bloom in March for about 4-6 weeks.

Pre-Soaking your Corms
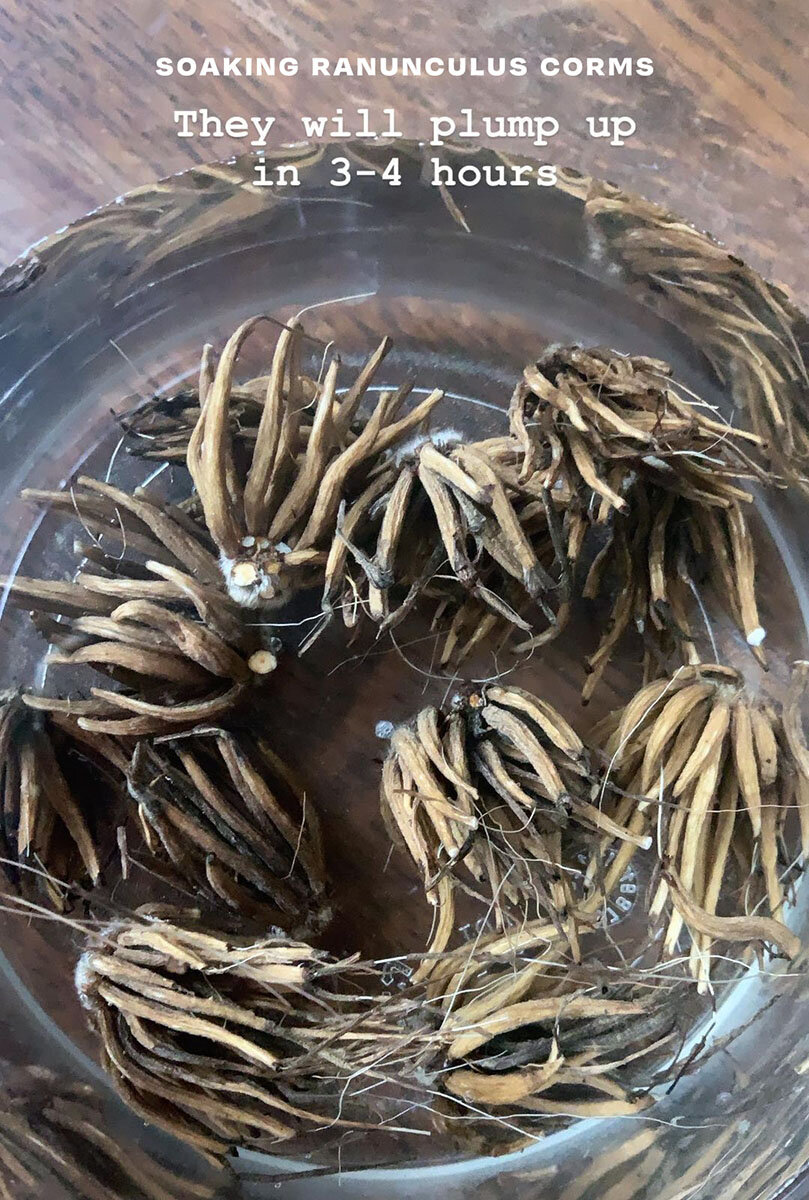
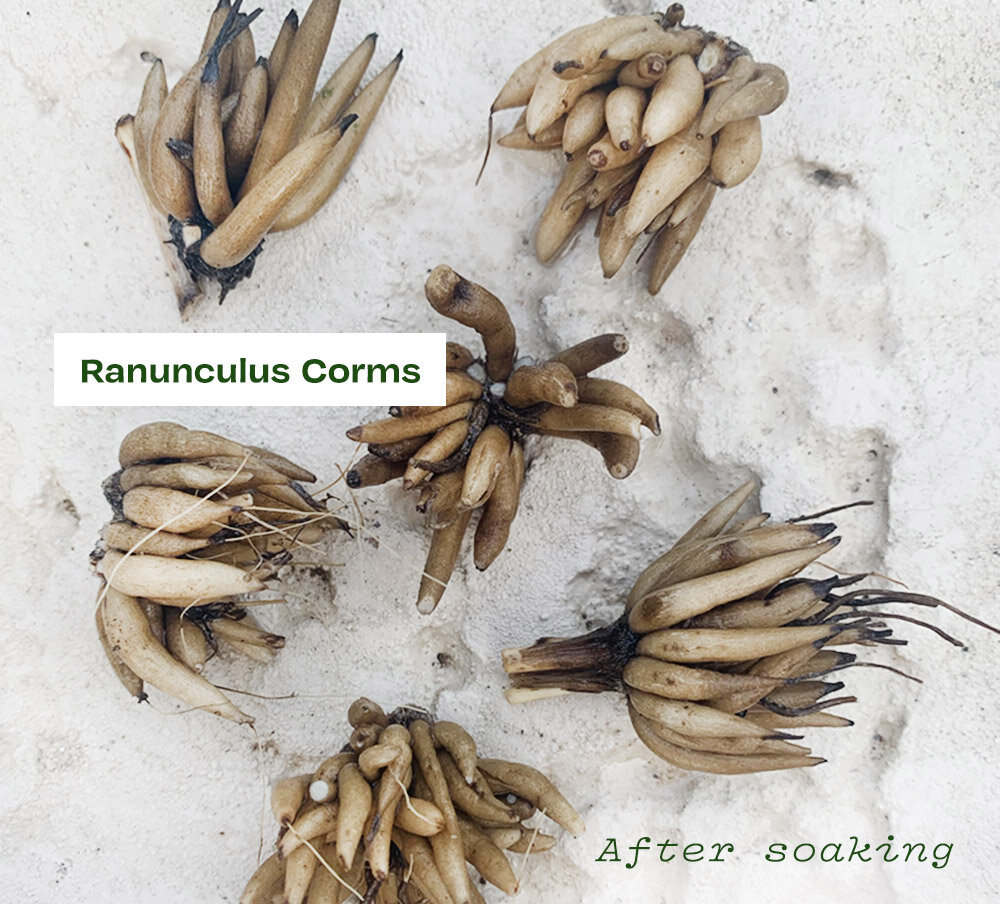
The best time to plant ranunculus, if you live where there are mild winters like central Texas, is in mid-November to early December, when temps are around 55º. If you live in colder climates, zones 4-7, wait until spring to plant or start containers indoors. They will bloom in late summer, not as prolifically as they when fall-planted, but still worth it. Two weeks before planting, you can pre-sprout your corms so that they will bloom quicker once in the ground. To do so, soak them in tepid, distilled, or at least filtered water, for 3-4 hours. It’s good to leave them with the water running ever so slowly over them to get more oxygen. Don’t soak them longer than 4 hours. Ranunculus are particularly susceptible to root rot. We don’t want to do anything to encourage that, so no warm water and don’t over soak them. The little sea creatures will swell into chubby, little tentacled monsters.
You can either immediately plant these activated corms, or let them pre-sprout inside. For me, it’s about timing. If I remember in early to mid-November to pre-sprout, I do it then. Otherwise, I put them right into the ground after they are hydrated. Keep reading to learn how to pre-sprout.
Pre-sprouting indoors
Place hydrated corms into a shallow tray of potting soil or coconut coir. Cover them up with a snuggly, blanket of another inch or two of soil and then put them somewhere cool and dark for 10-14 days. Be careful not to put them somewhere they can be discovered by rodents. My first year growing them, a rat ate half of mine when I stored them in the garage. I was devastated. Now I know better. Check on them once in a while to make sure that the soil hasn’t dried out completely and that none of them are rotting. If any of them have, remove them immediately. Rotting corms go mushy and dark. Healthy corms come alive. They will start growing hair-like rootlets and plump up to about twice their hydrated size.

A “pre-sprouted” corm with the beginnings of rootlets, ready to be planted out.
Plant corms “claws down” about 8-9” apart, 2-3” deep. Water them in very well then don’t water again until you see sprouts coming up.
It takes about 90 days from soaking them until they bloom. Once the rootlets are plentiful and 1/4”-1/2” long, your babies are ready to be planted in the real world. Take them to thespot or pot you’ve planned for them and plant 2” deep, sprout side up (or claws down if they aren’t yet sprouting,) 4-6” apart. Water them in well. Cover with two inches of mulch, and then leave them alone. They do not like to be disturbed. Do not water them again until you see shoots coming up.
Cut them for longest vase life when the buds are squishy like a marshmallow but haven’t opened yet.
The foliage once it starts coming in, will resemble rounder celery leaves. You can start watering them at this point. Never let them dry out, the mulch will help with that, but don’t over-water.

The corms grow all fall then bloom through March and early April.
Cut them for bouquets when the buds just start to show color and are squishy like a marshmallow, not yet open. Remove the foliage and re-cut the stems when you create your arrangement. Add flower food and change the water every other day and they will last in a vase for up to 10 days. You can cut them when the flowers are open and they’ll still last a week. If you don’t cut the flowers, deadhead the spent blossoms to keep the plant healthy. It’s always best to cut flowers first thing in the morning when they are their most hydrated.

Play with Arrangements
Find new pairings with other harvests from your garden like sorrel and rosemary.
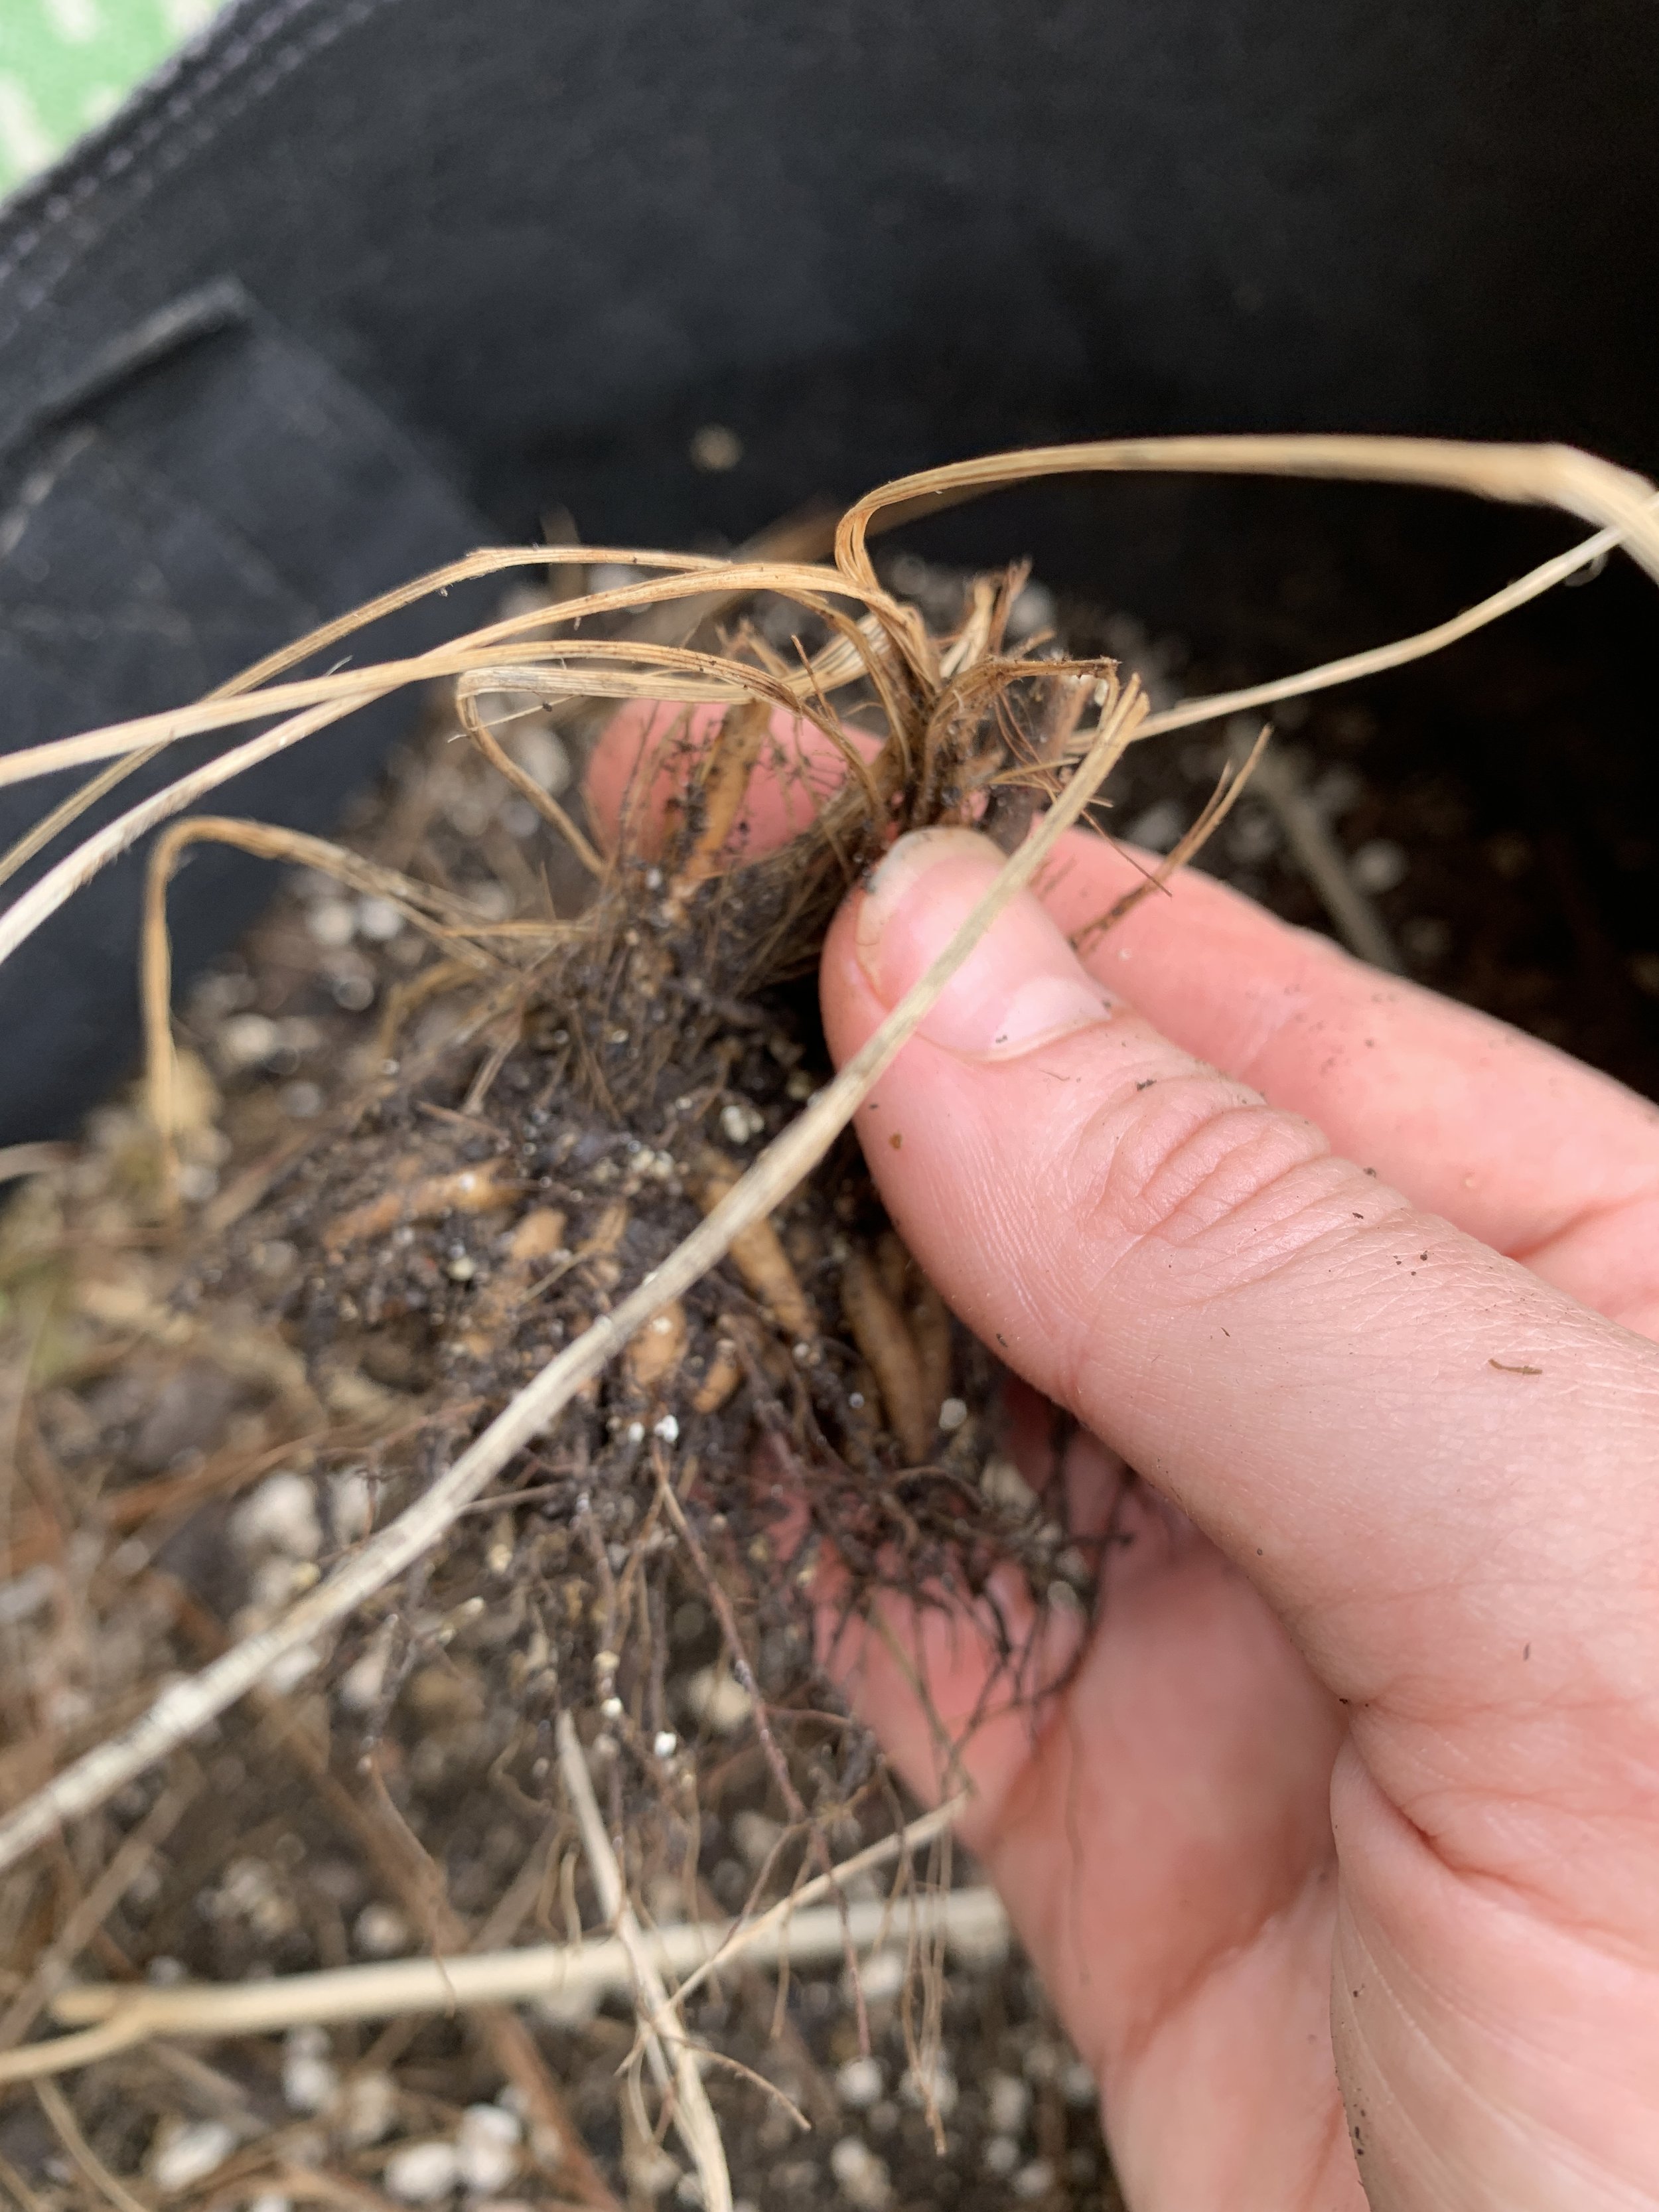
Once the foliage starts to turn yellow, stop watering. Even though it will now look like old celery, resist the urge to remove the leaves. The corms are storing energy now before going dormant again. Once it gets hot and the foliage has completely died, dig up the corms and store in a cool, dark place before beginning the process again next year. You can also leave them in the ground to take their chances, trying to keep them dry, but the heat of Texas summers may kill them if they don’t rot in the ground. You can just roll the dice and get more corms each season, but maybe now you’re invested in your little monsters, having seen the staggering potential of their beauty.

When your flowers look like this, it is safe to dig them out. Sometimes you can’t see any part of them sticking above the soil, but dig them out just the same.
When you dig them up, you’ll find them larger than before you planted them. Sometimes they will have grown into a clump you divide into new corms. Store in a cool, dry place with some silica packets until next November.
