What to Do in the Garden in September
After slowing in the heat of August, you may see old plants begin to explode with fruit and renewed vigor.
Depending on what kind of summer we’ve had, your garden is either a charred ruin or still green in pockets. Clear what’s clearly reached its end and make space for the new! Winter is coming! In central Texas, that means the most glorious time to garden is just around the corner.
Make space for joy and it will flourish.
September is the best time to look around at the state of your garden and decide what is working and what isn’t. Did some spring perennials struggle in the location they were planted? Make a note of where you think they should be next time and incorporate that placement into your fall garden plan. Maybe some of those tomatoes you prepped for a fall harvest don’t look so refreshed anymore, maybe they’ve taken a turn in the last few weeks. Don’t feel bad if you want them gone. If your garden space is limited, be ruthless about utilizing it to its full potential. Part of that means letting go. Once they are out of sight, they are out of mind and those garden beds need to be cleared so they can be refreshed and replanted.
Sometime early in the month, take a walk around your garden and make those decisions. But here is a big lesson to take away with you going into the season ahead: almost nothing you let go of should ever go anywhere, as in, leave the garden. Unless the crop has a disease, you should return it to the soil as prep for your fall garden.
I’ve been reading a book about the science of soil by Diane Miessler and she talks about the use of brown and green mulch. Green mulch is leaf matter that is still green and hydrated, like the leaves you pull off your celosia and basil. Brown mulch is the tree leaves that crackle and crumble into brittle little pieces like oak and pecan leaves. Ultimately, anything that is on top of the soil will turn into brown mulch as it dries out from exposure. Brown mulch is a soil stabilizer, attracting fungi with a long, slow, decomposition process. Green mulch breeds bacteria as it breaks down, turning into a microbe food frenzy that adds more life to the soil in the form of nutrients that are immediately available to plants.

Green Mulch adds nitrogen to your soil.
For the most part, you should aim for mulches with one-part green mulch covered with two-parts brown mulch. Alter this recipe slightly to reflect the type of plant you are mulching. Greener plants that need more water, like annuals, will want greener mulch. If you can cut it up into fine pieces for them, even better. The bacteria will be able to break it down faster, adding more nitrogen. Woodier shrubs and trees prefer browner mulches that have more fungi interaction as they thrive in fungi-dense soil. What you never want is bare soil. Throw some kind of mulch on it or plant a cover crop. Just don’t mulch with weeds like bermudagrass or anything you are trying to eliminate from your yard.

Brown mulch is a soil stabilizer. It adds carbon to the soil but no nitrogen.
Try to get in the habit of always thinking about your soil and putting anything you grow back into it. Adding organic matter is the number one way to improve your soil and therefore your garden. You don’t have to continually buy compost and mulch to do this. Use what you grow. What I set out on the curb are the weeds I’m trying to eradicate or things that take a long time to break down, like Sago Palm fronds. You may collect and remove dozens of bags of oak leaves every year. Consider instead raking them into piles and running them over with your lawnmower. These leaf fragments break down much faster and look less messy. I use them to fill in uneven areas of my yard and to create garden paths everywhere. Lay down an under layer of cardboard if you are trying to create paths over existing grass.
If this is your first garden, know that year one is the hardest.
If you follow this technique though, I swear to you, you will have those dream harvests and beautiful healthy plants you’ve always dreamed of. The first year in my house, my peppers didn’t have a thrilling spring. I didn’t despair, I expected it. The next year was better and the year after, well, the year after it was insanely hot and no mulch could help them. Despite setbacks, when you focus on your soil and not on individual plants, it lessens anxiety and fretting over whether or not they succeed individually. It’s all a process. It takes time.
When you remove a plant, try to keep its roots intact and cut right at the soil line. Ripping roots out violently disturbs the soil. Better to let what roots remain gently decompose and add to the organic content you are trying to build.
Add compost, new garden soil, and soil activator to your existing garden beds if you haven’t yet. If you’ve lost a lot of volume out of your beds, that’s a good sign! It means that a lot of activity is happening in there, and the soil is being broken down by worms, bacteria, and fungi. You may need to add more dirt with your compost. Refresh your potting soil if you are container gardening. I like to dump all of mine out onto a tarp and then let it dry out for a while. This is especially important if you have a ton of june bugs. Those big ol’ tomato grow bags are probably full of grub worms. You definitely don’t want to pour them into your raised beds. I add half as much compost as old potting soil, along with some balanced, organic fertilizer and worm castings, and a generous amount of perlite when I pot up a new container.
Note: There is such a thing as too much compost. If your plants aren’t thriving, but you feel like you’ve done everything right, you may have added too much compost. Remember, plants need actual soil to grow in. Too much organic matter can upset the balance of what your garden needs. Over time, you may actually create an imbalance in your garden that means you should avoid adding any compost at all and only adding fertilizer with low phosphorus(P)— the second number on a fertilizer NPK label— for as many as four years. Getting your soil tested is the best way to find out.
Torch Sunflowers and Pride of Barbados are still 🔥.
What to Plant:
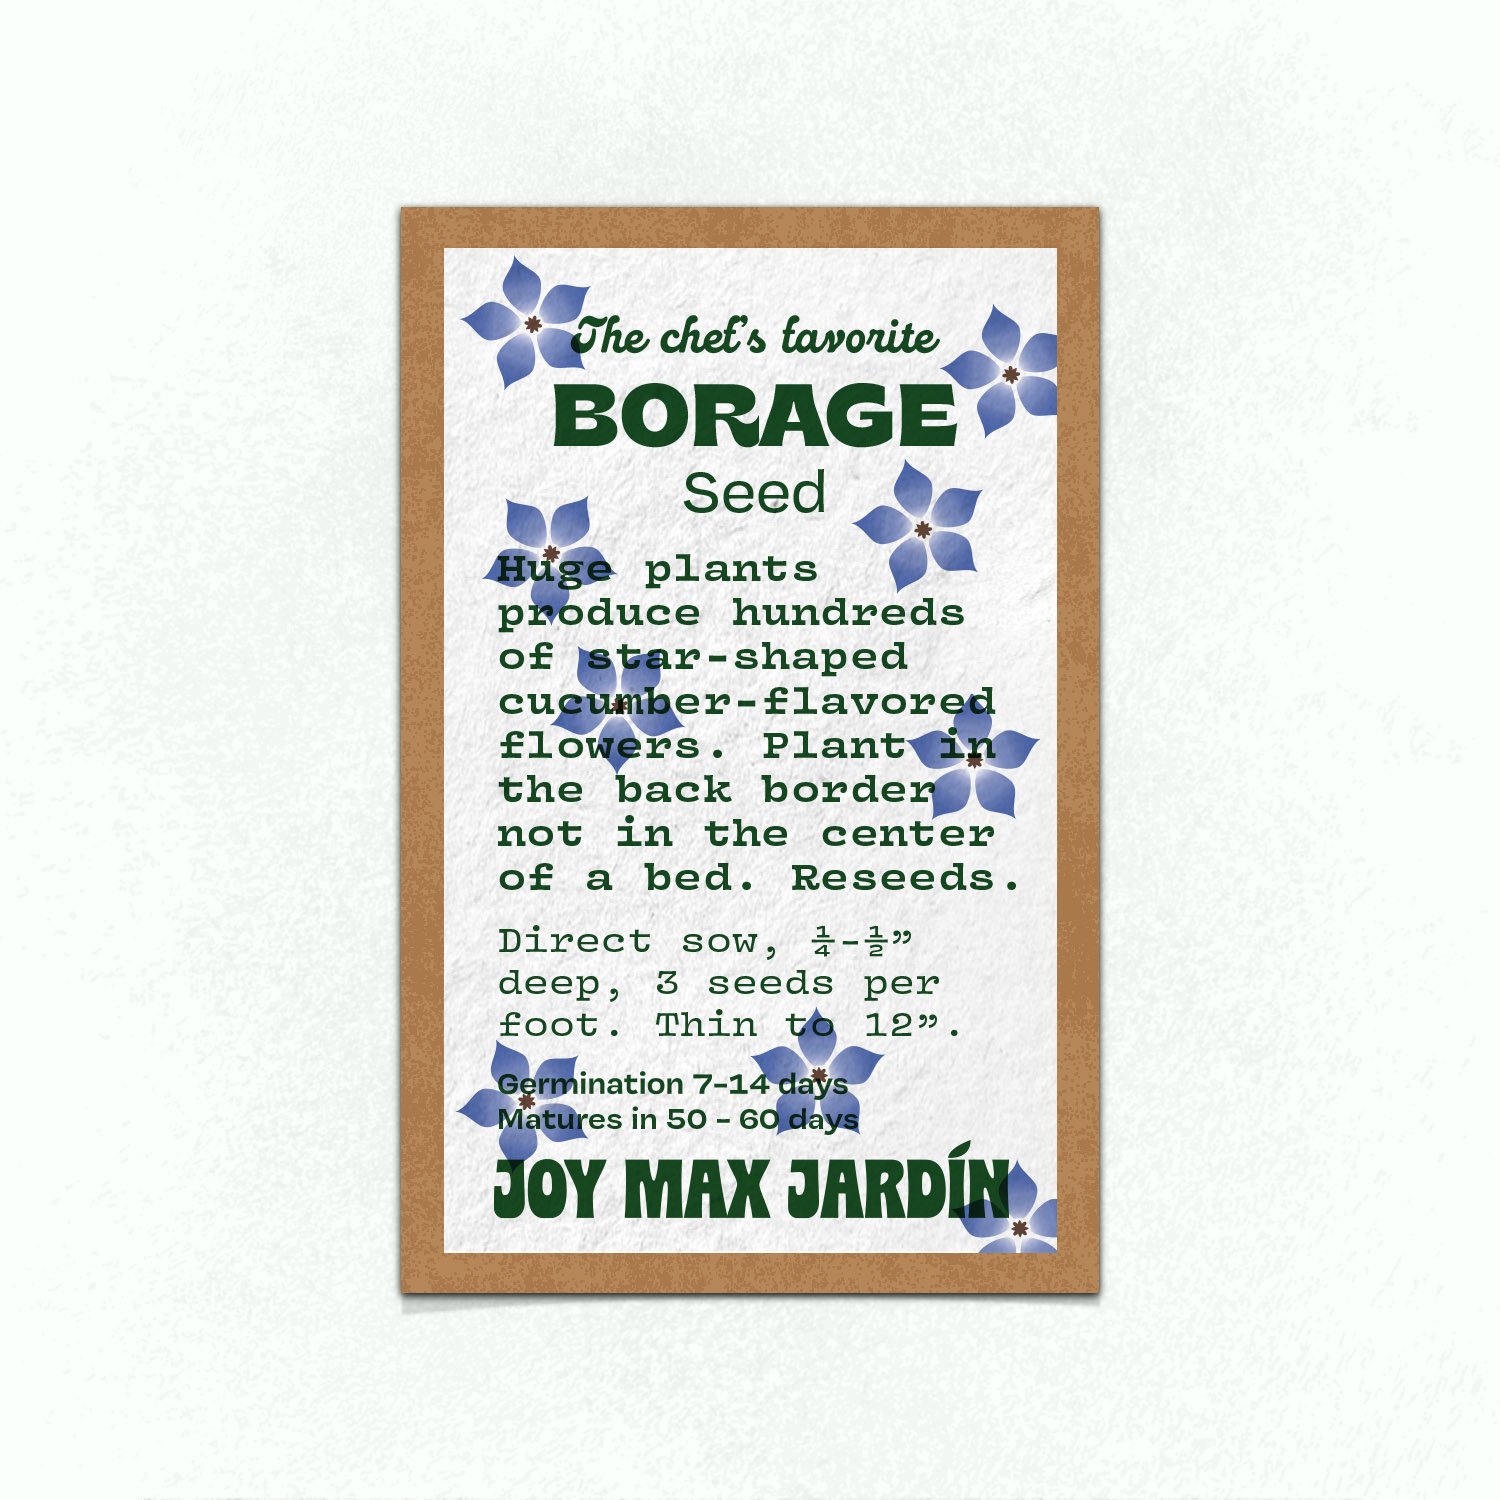
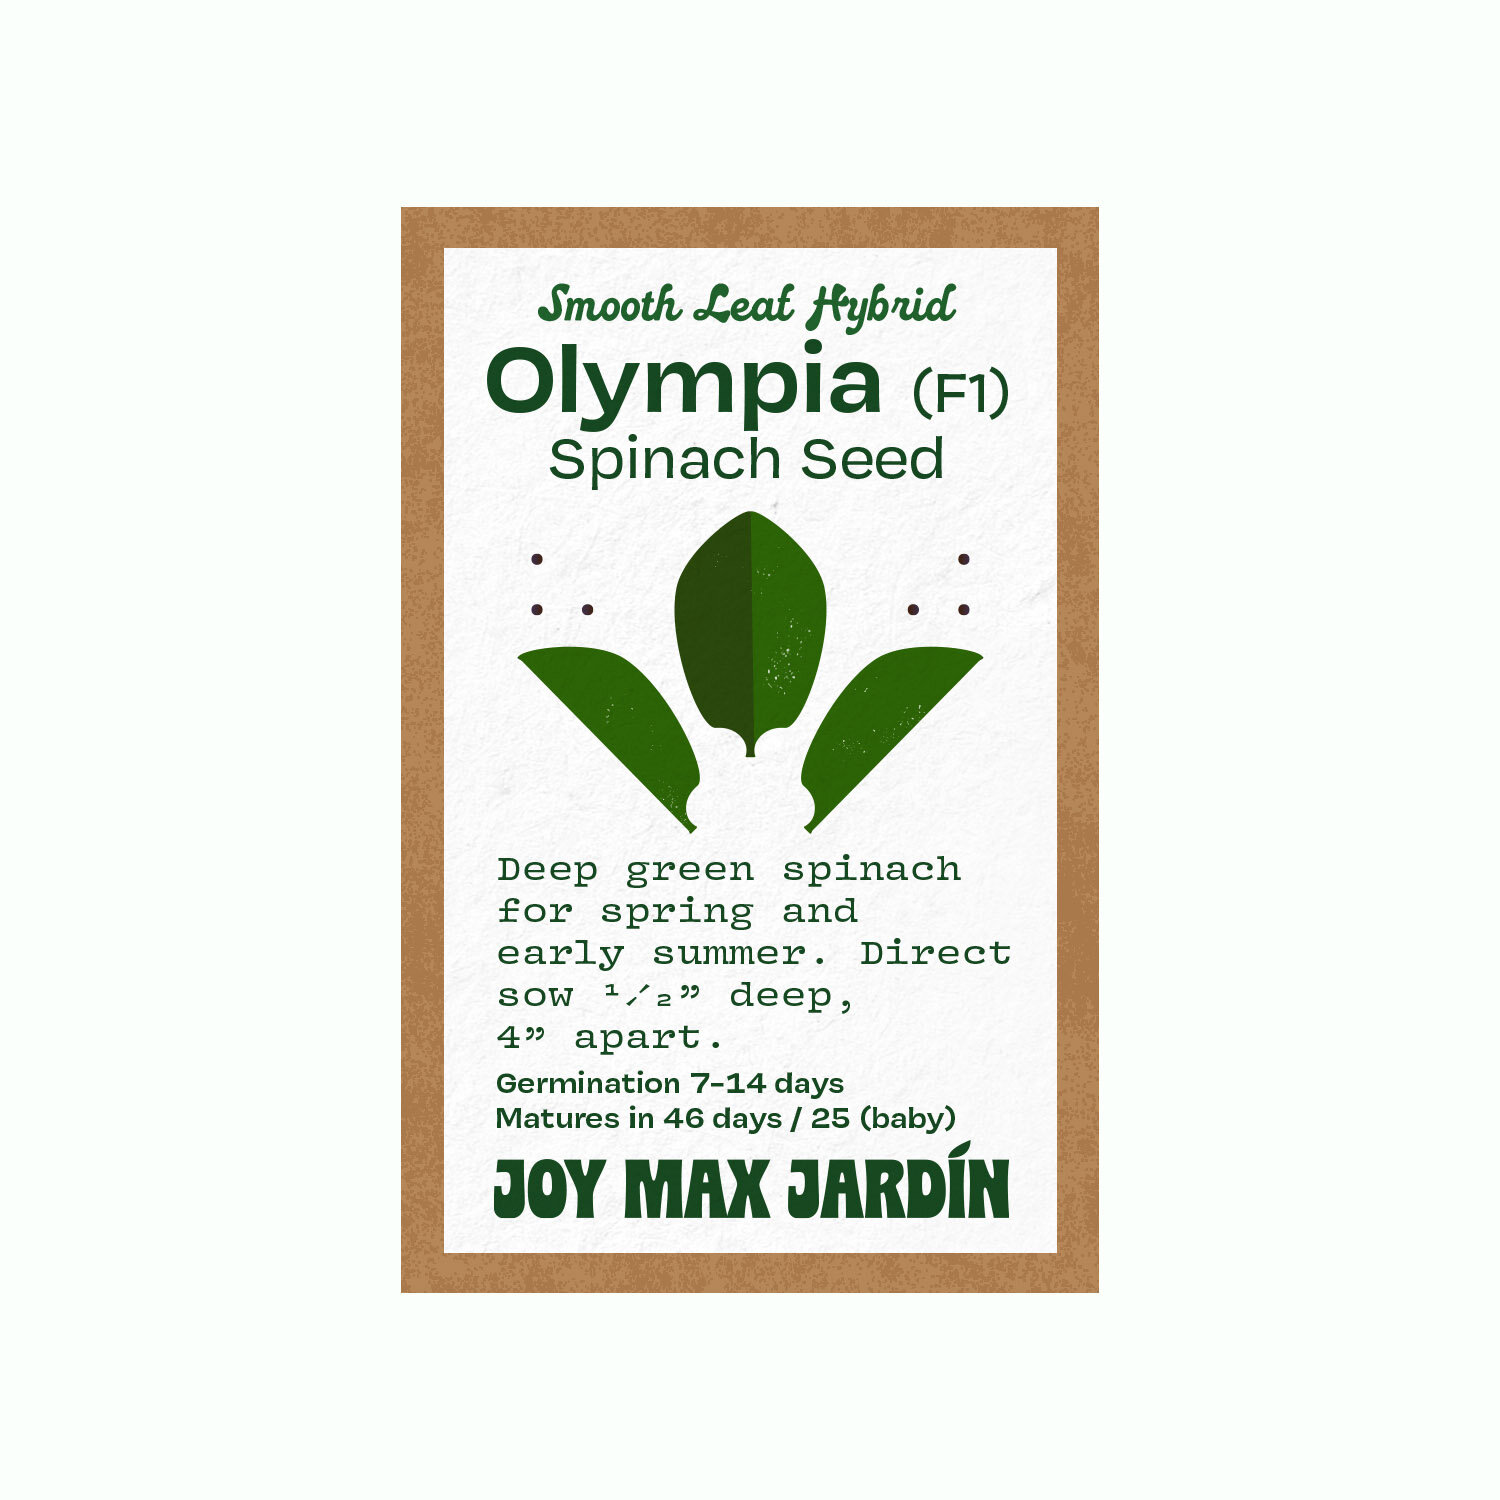
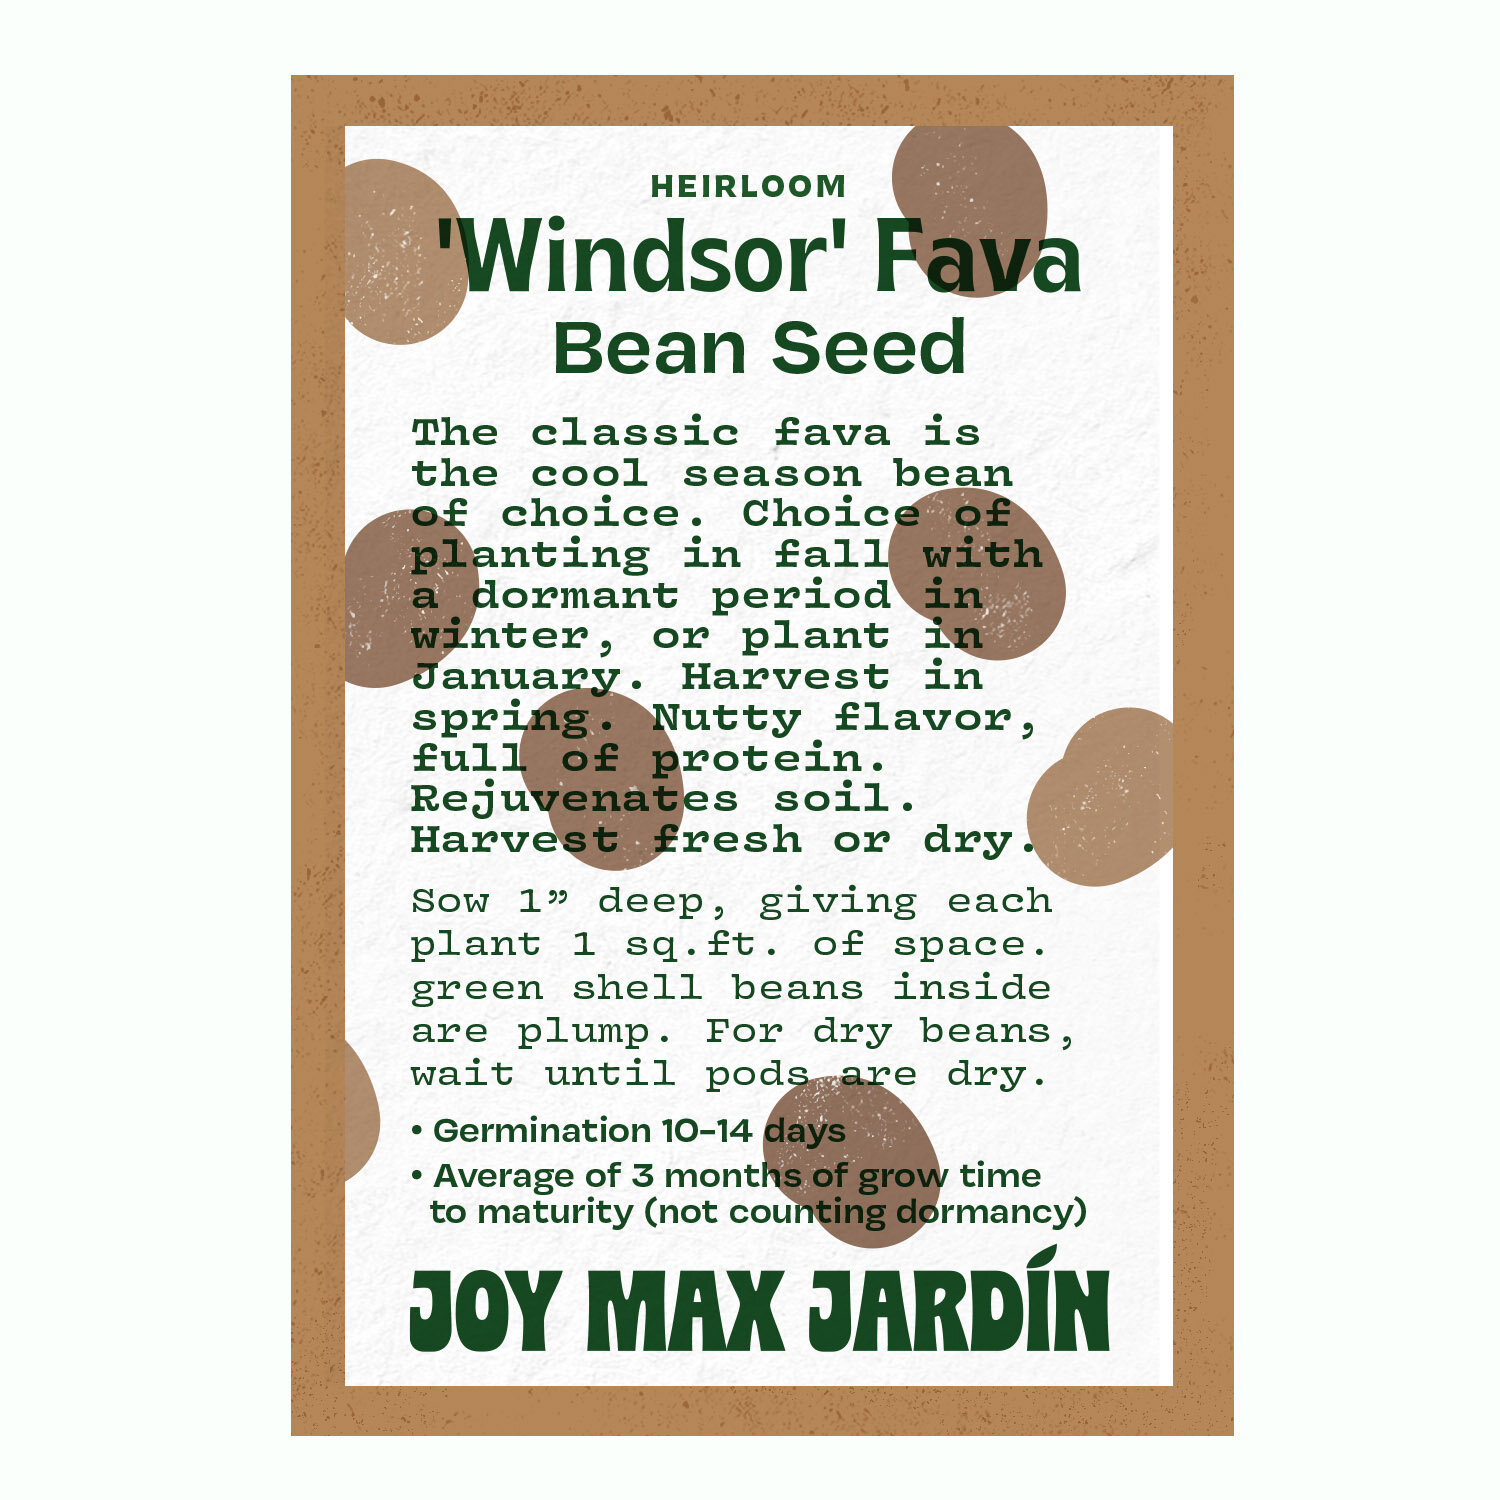
It’s so exciting when temperatures start to drop. Planting everything is exciting. Perennial herbs like rosemary, thyme, sage, and oregano can provide structural interest to your garden and can be planted anytime once the temps are out of the high 90ºs. Start these seeds outdoors when temperatures cool: beans (snap, fava, lima), beets, radishes, carrots, peas, and spinach. You can plant potatoes in early September. Use those fabric grow bags from your tomatoes. They are great for potatoes. Add four inches of soil, the potatoes, then four more inches. When the greens have grown up 8-9”, fill your soil mix in around them all the way to the top of the container.
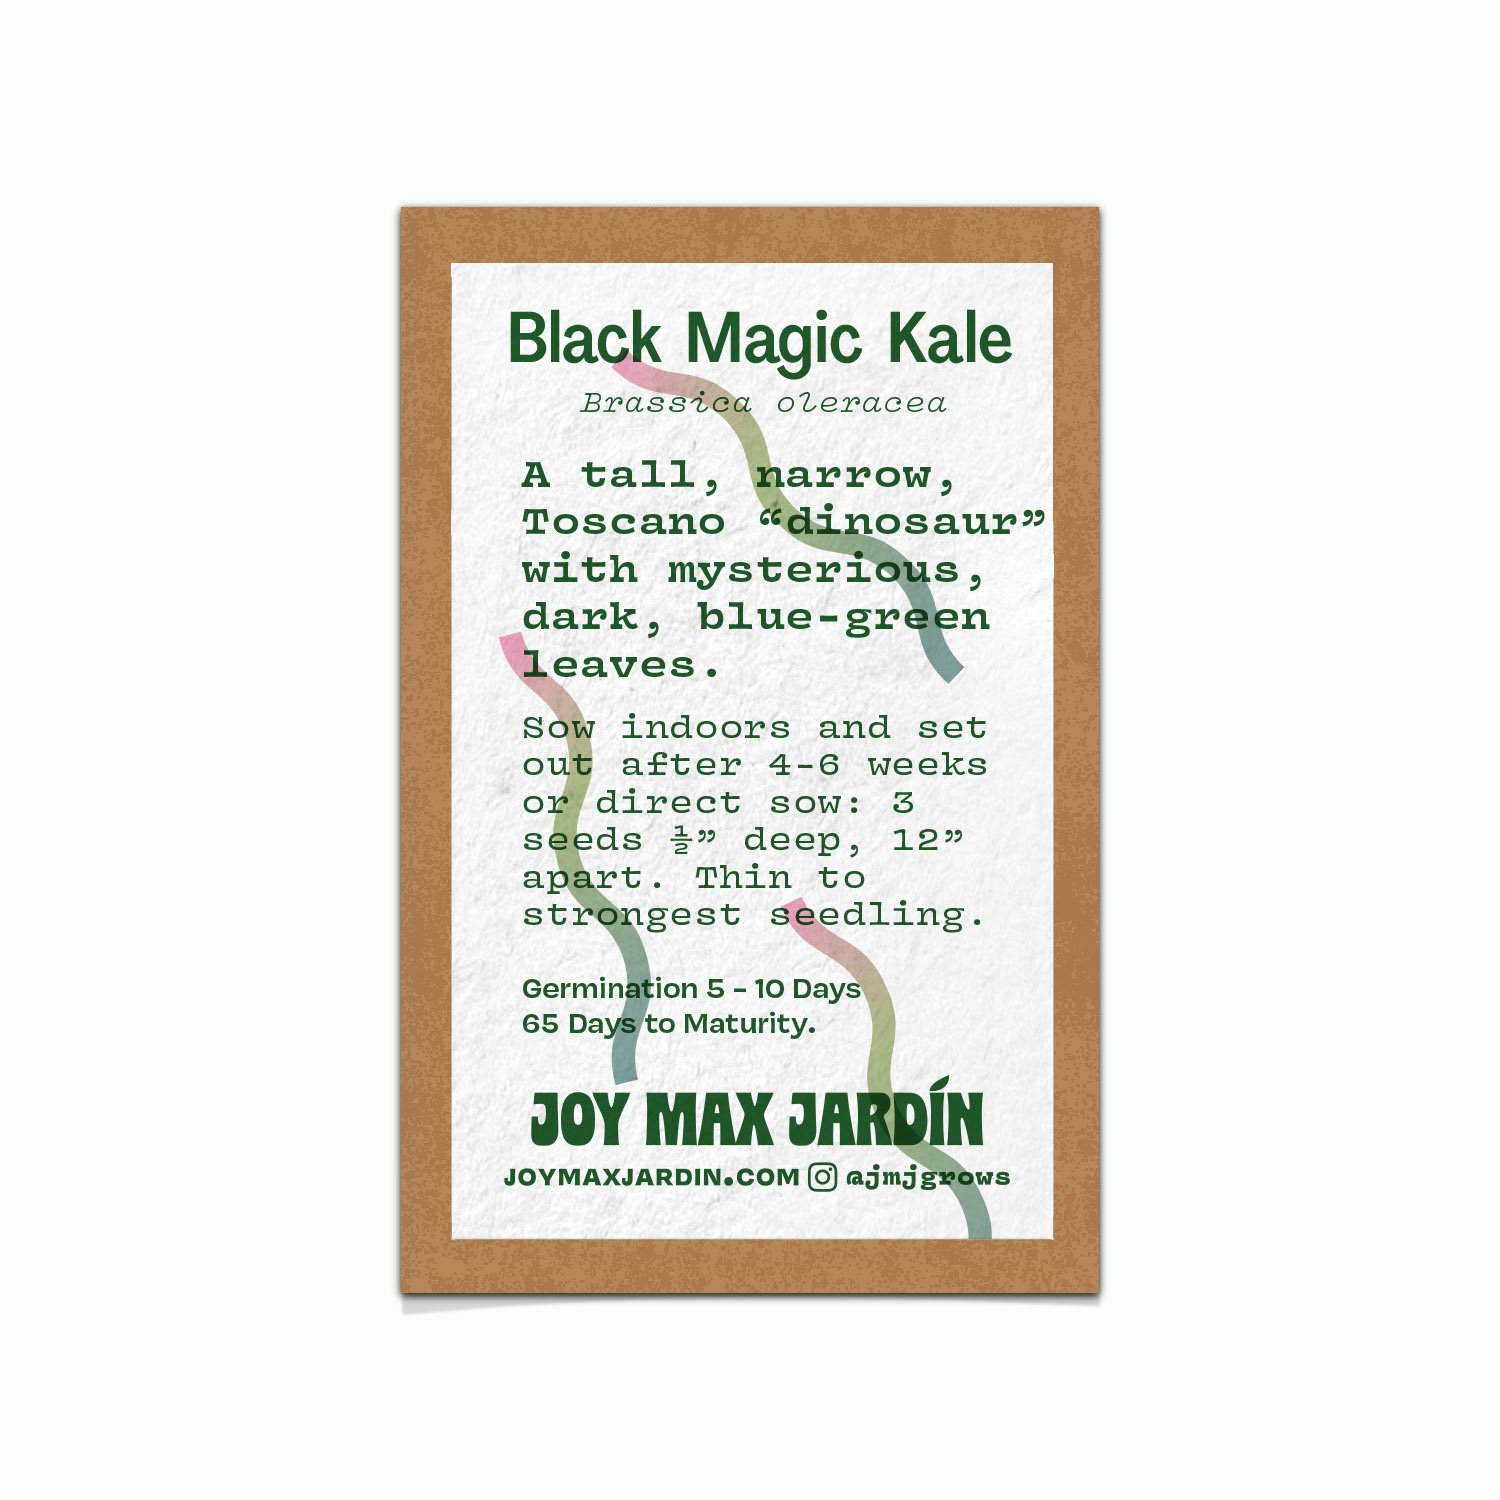
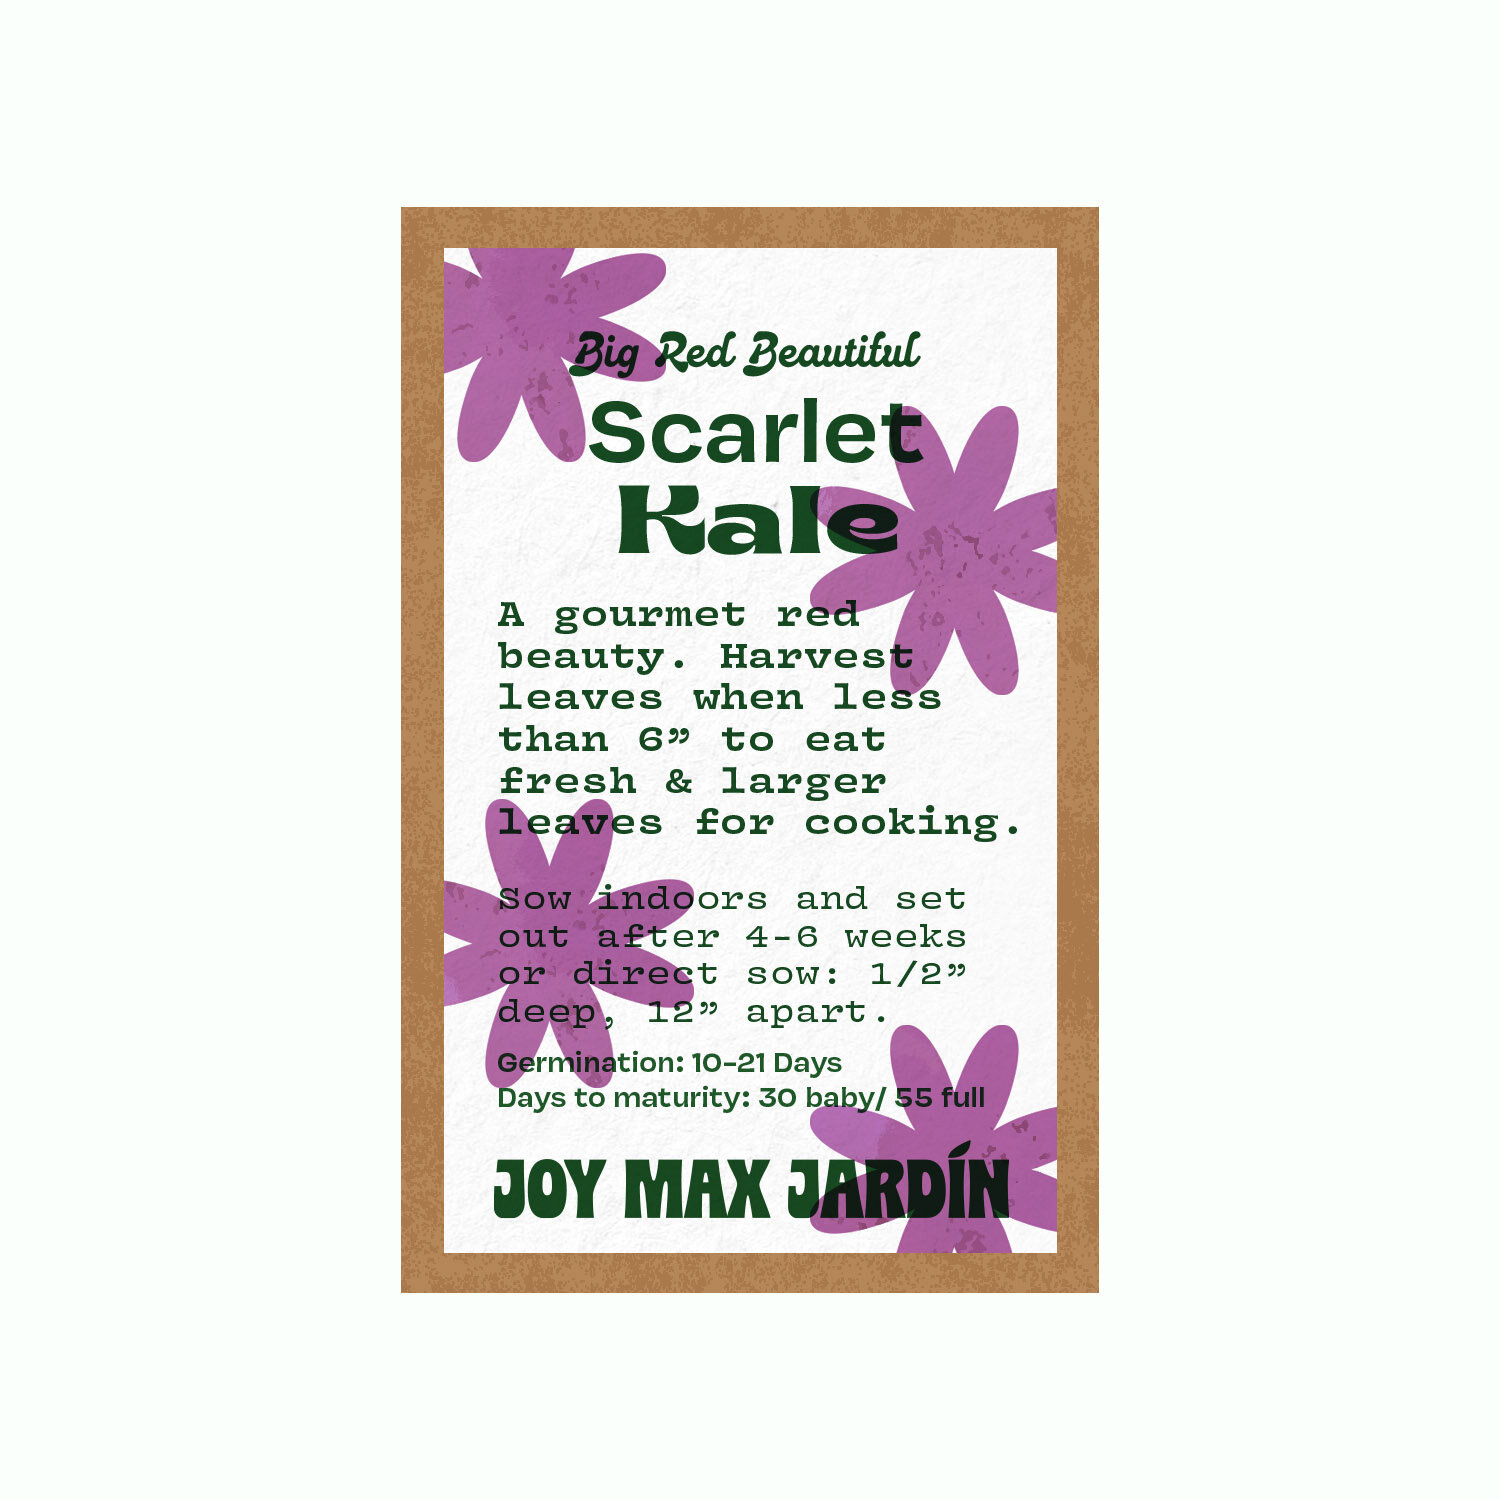
Start Brassica seeds indoors for best results. Transfer out at 4-6 weeks old, once temperatures have cooled.
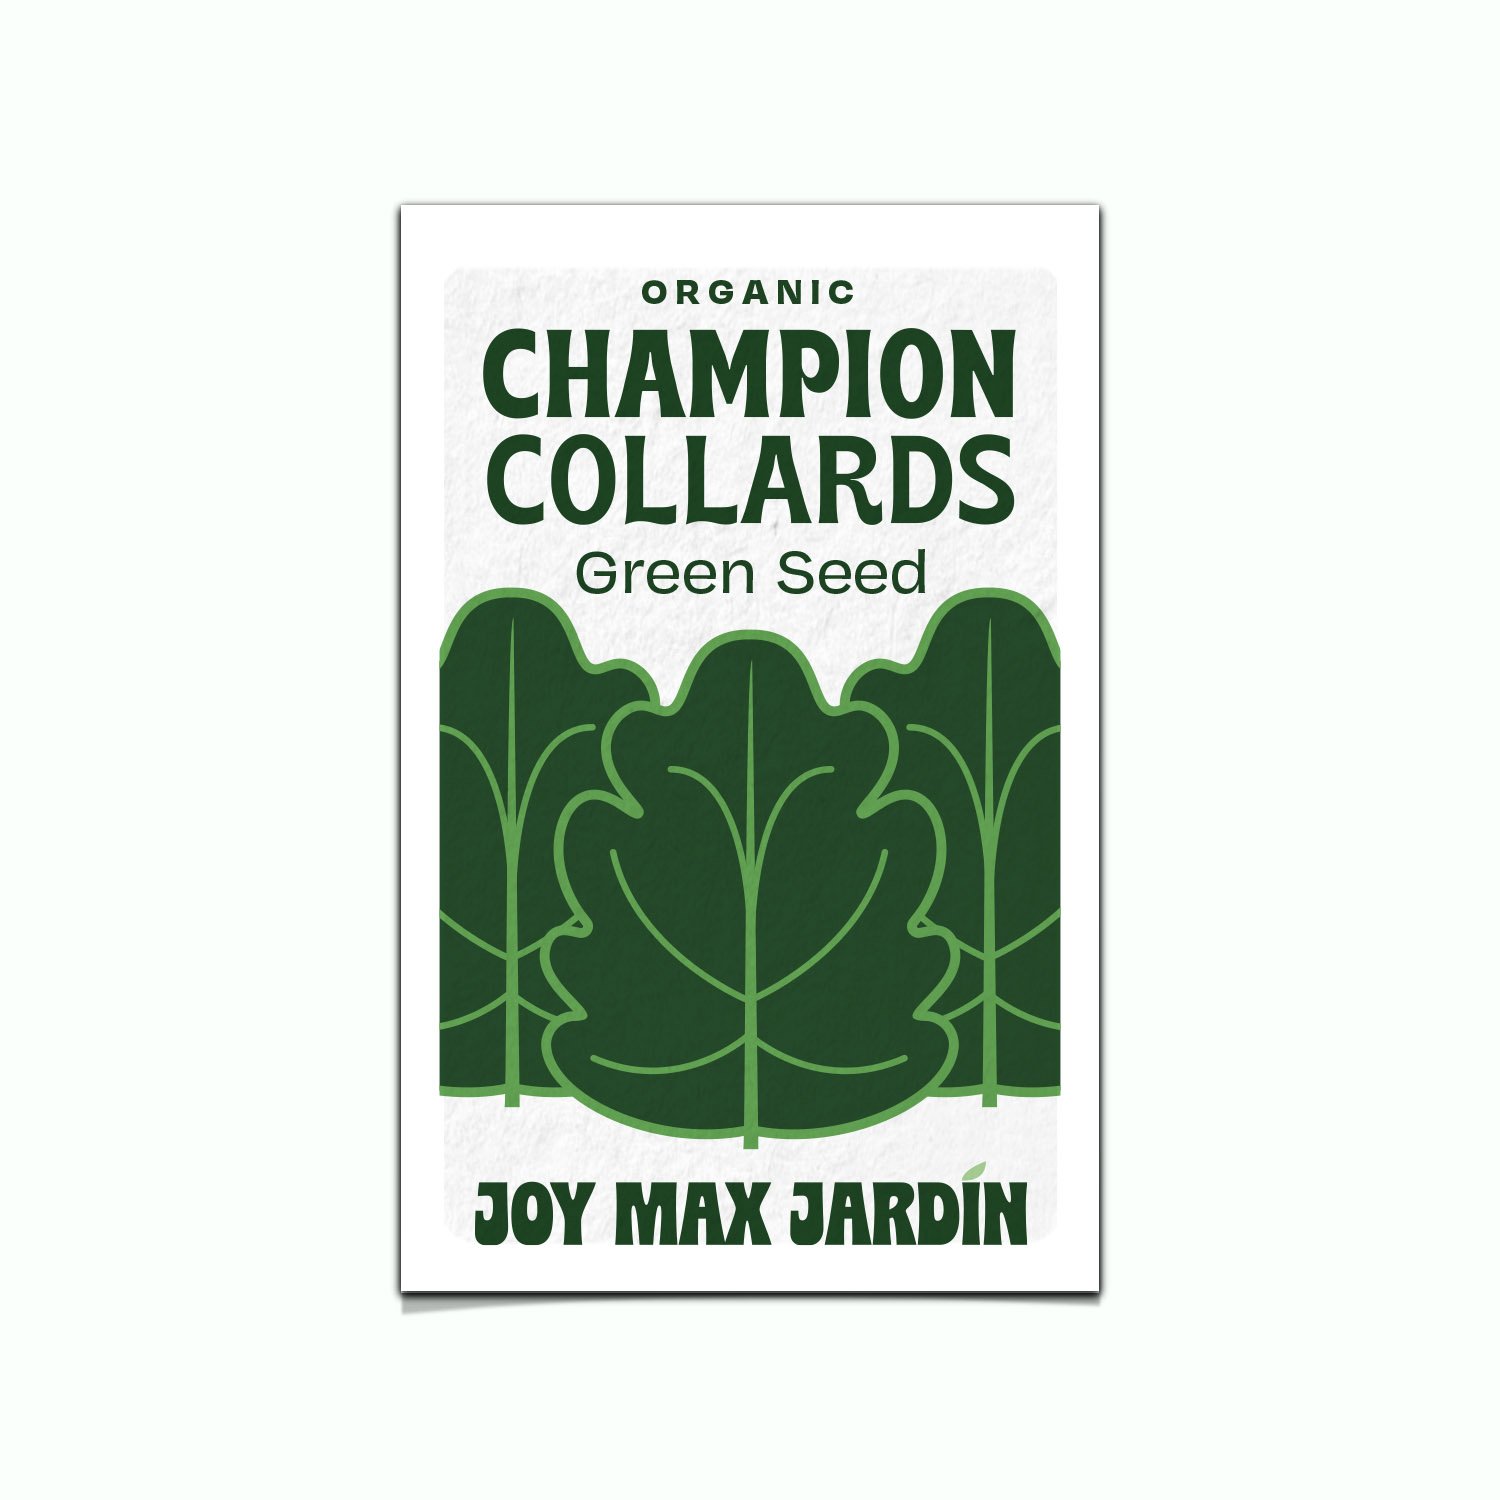
You can also start lettuce and brassica seeds outside in shaded areas or containers. Once the temperature cools, gradually move them to full sun exposure. Kale, lettuce, and beets do better for me germinating during warmer days than other cool-season crops like collards. Don’t start lettuce outside unless it’s truly cooled off and you are ready to make sure it’s watered everyday. Dry spells and heat kill lettuce seedlings and makes even young lettuce bitter. Start broccoli, cauliflower, cabbage, kale, mustard, and Asian greens inside and transfer out after 4-6 weeks, only after it gets cool. Hardening off for a week before they go in the ground is crucial. Chard can be started outside as well as winter squash and pumpkin if you don’t fear the borer and have space.
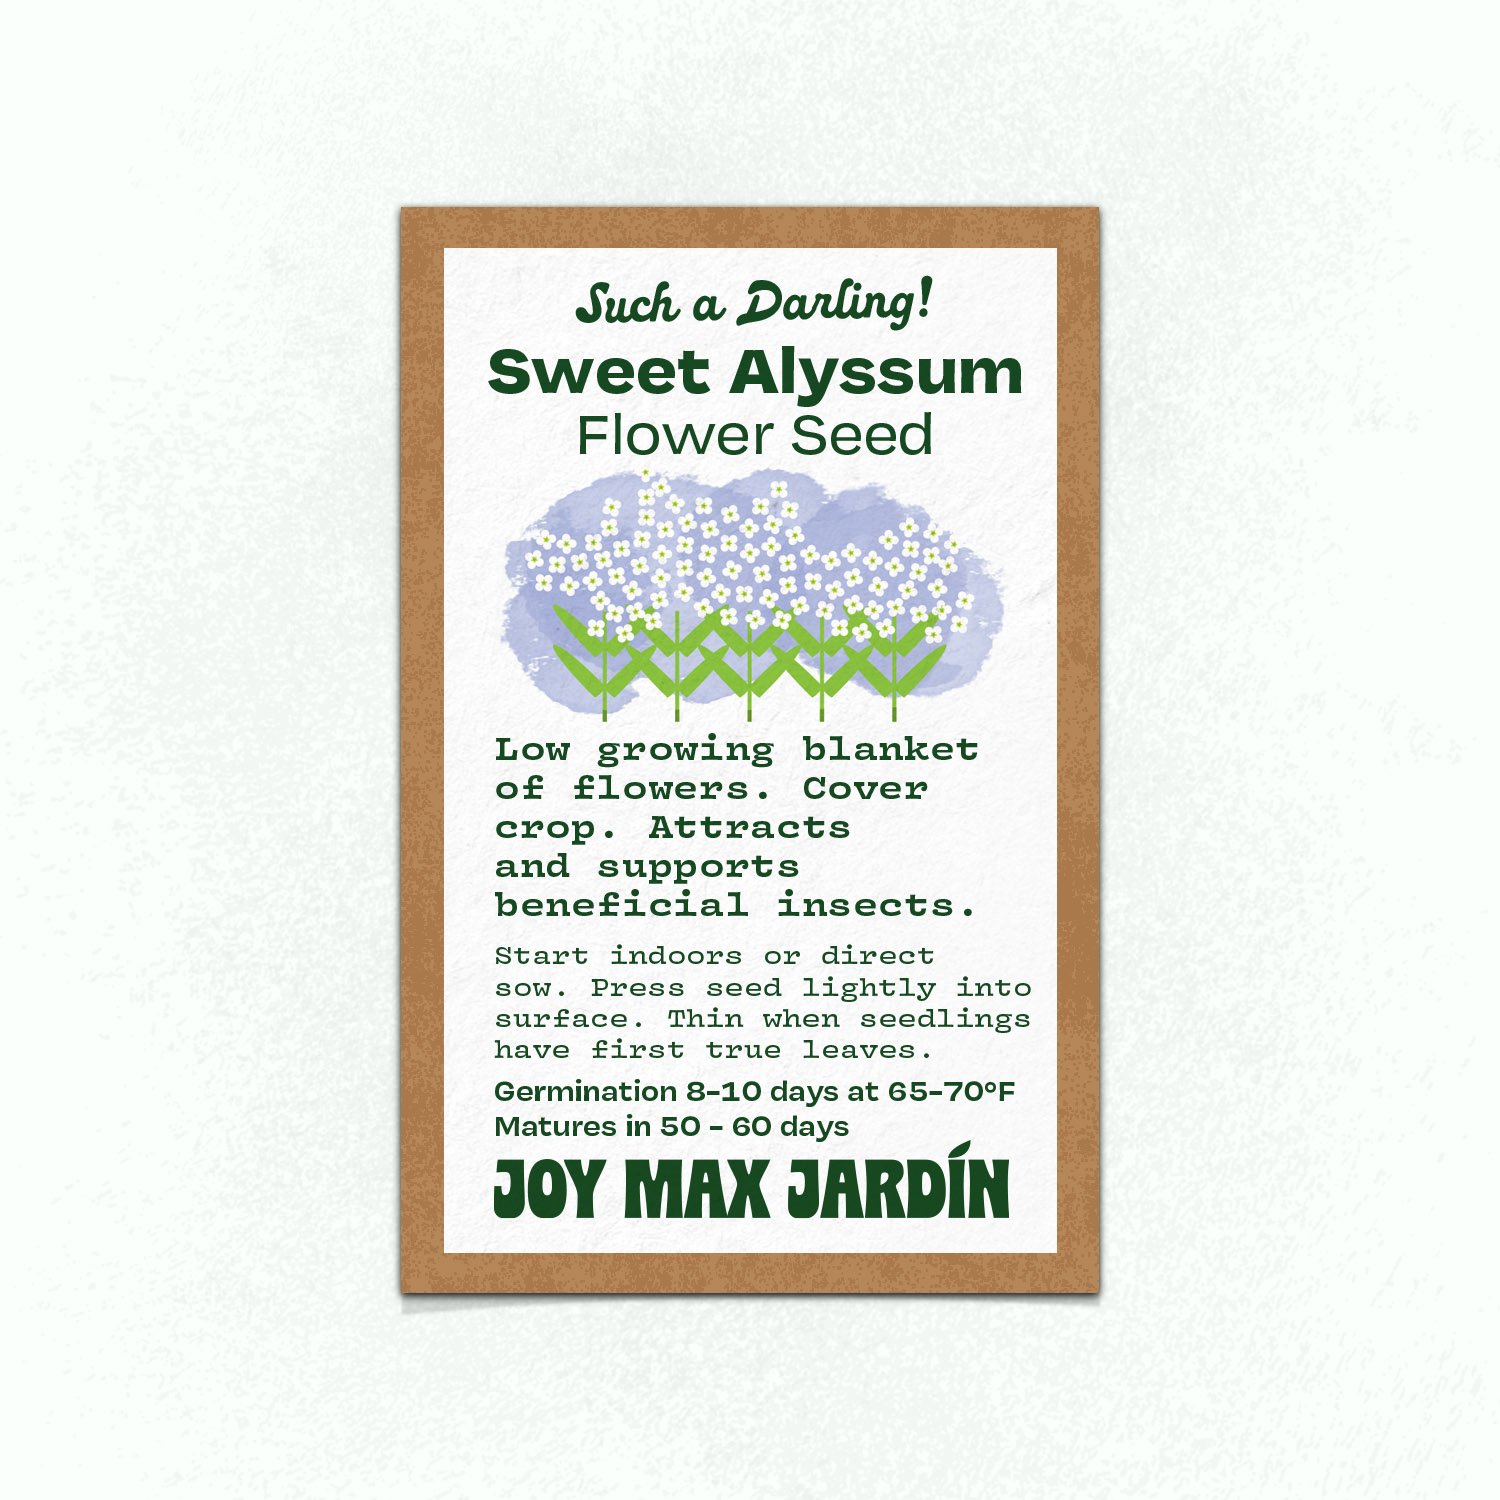
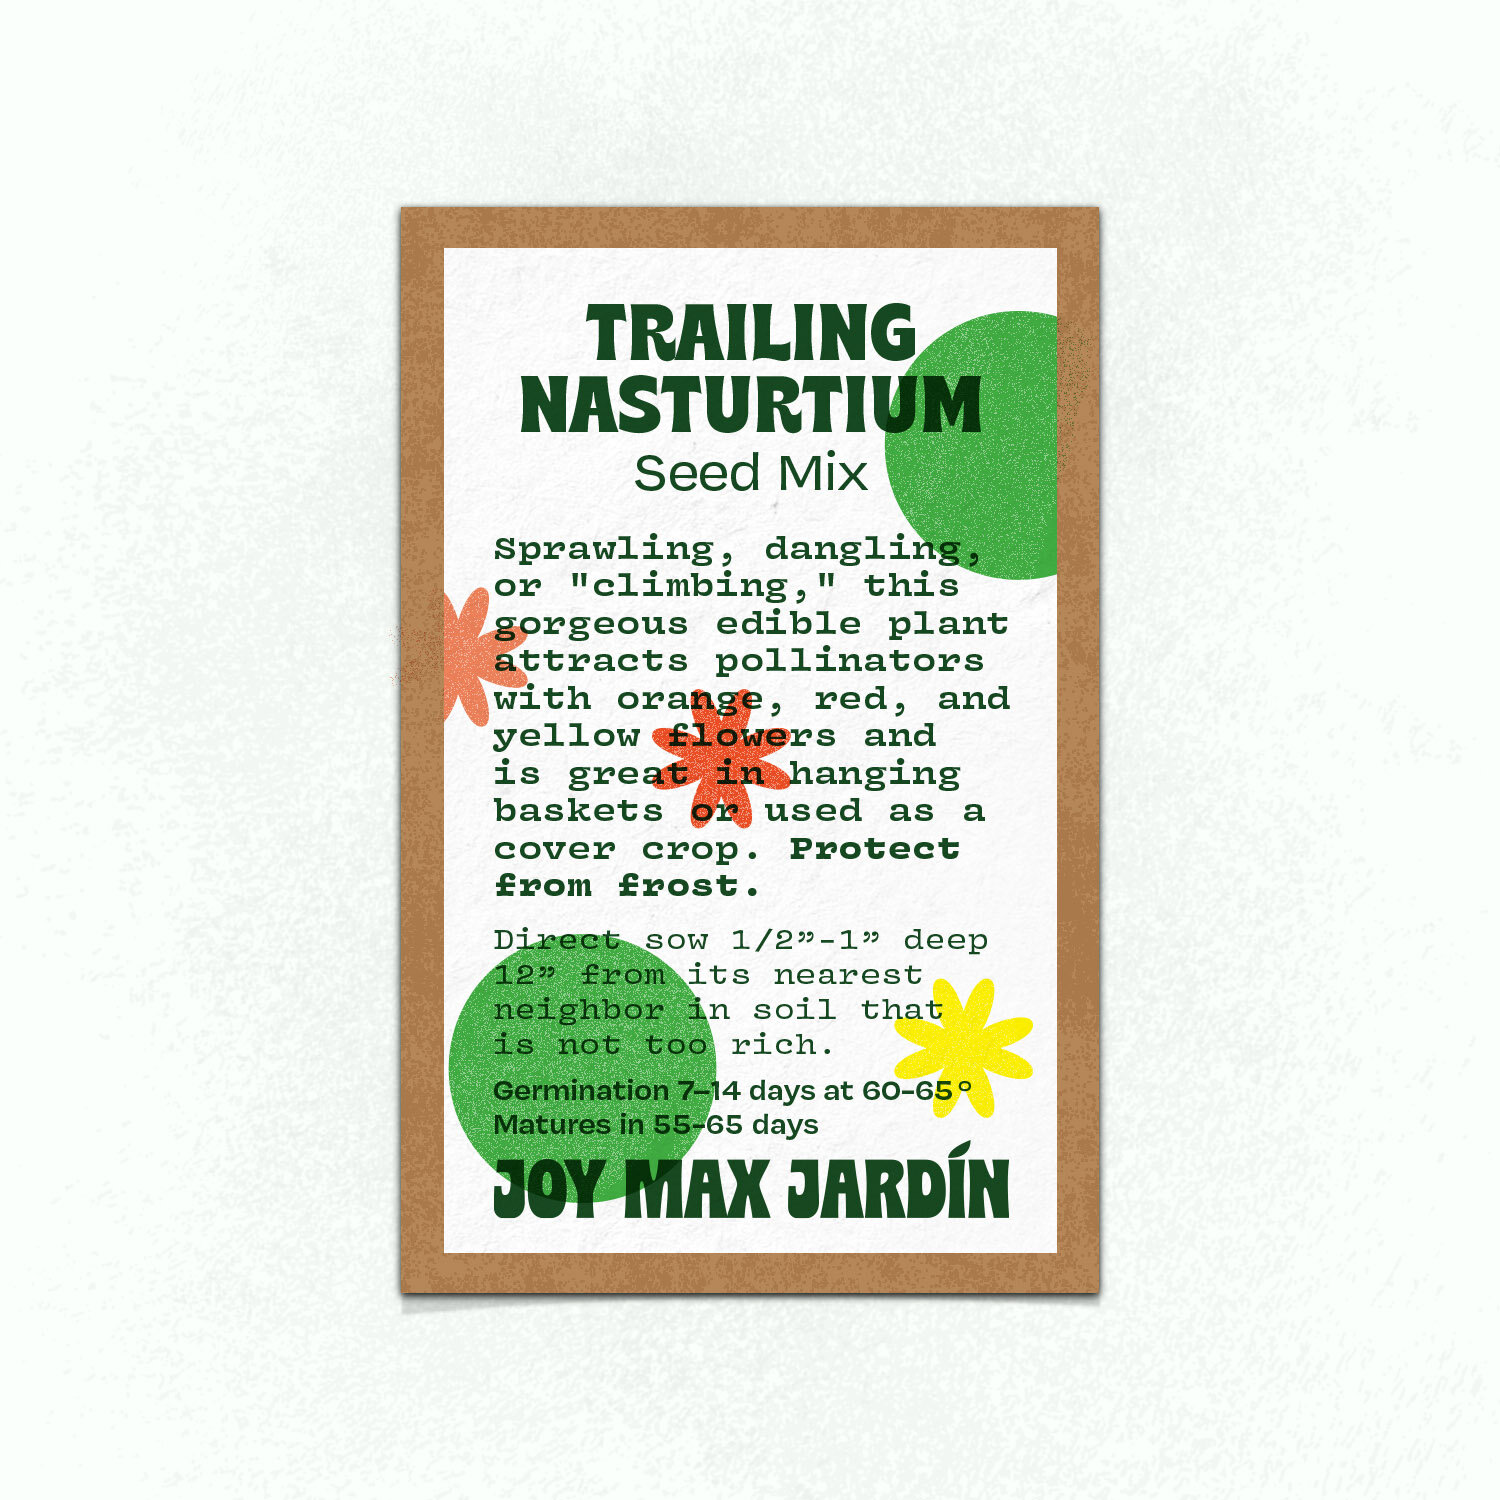
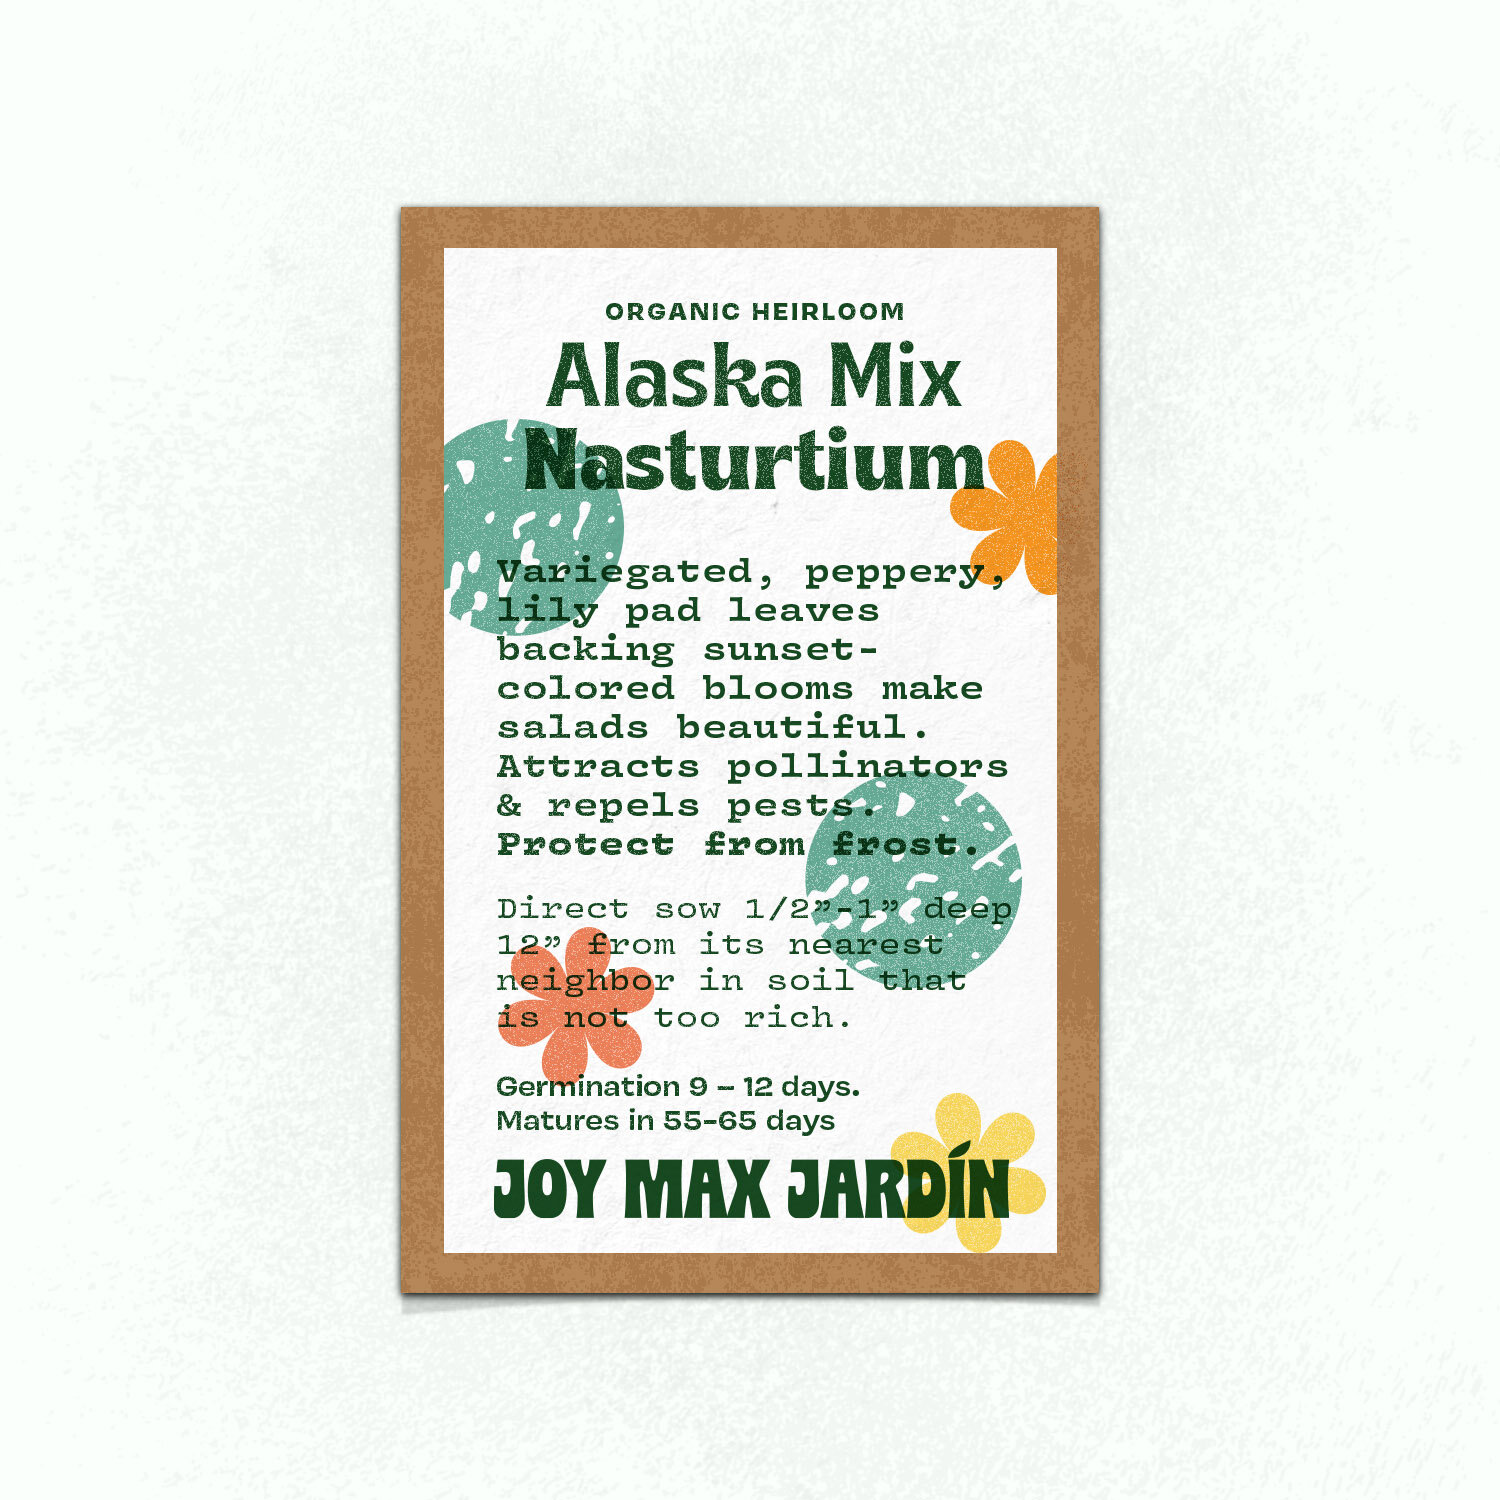
Late September flowers: Snapdragons, dianthus, alyssum, pansies, and nasturtium.
Other September Tasks:
My sweet potatoes are starting to turn yellow, the telltale sign they are almost ready to be dug up.
Harvest sweet potatoes. If you planted in April, they should be starting to mature. Watch for the vines to turn yellow which means they are ready. Cut the vines a day or two before you gently dig them out. They are more delicate than regular potatoes, so go slowly. Leave them in a protected spot in the shade for 7-10 days to cure in the humidity, then transfer to a cool, dark spot for storage. Brush dirt off but do not wash them. Do not refrigerate. They should last 6-10 months.
Deadhead spring blooming perennials. Cut back those perennials that are starting to fade, like coneflowers and Rock Rose and you will get more fresh blooms as summer fades. Leave anything that is still living its best life.
Top your okra. If your okra has gotten crazy tall, cut the top 1/3 or slightly more off so that it looks more like a bush than a tree. You should get a second harvest before frost. That’s if you aren’t totally sick of okra by this point and/or you don’t need the ample space it takes up in your garden.
Letting whiteflies and aphids move in on some past-their-prime plants attracted ladybugs in droves.
Open an Aphid Hotel. Consider keeping any older plants infected with aphids around to attract beneficial insects.
Save Seeds Saving seed from zinnias, cucumbers, basil, and anything else that is flowering can keep you from ever having to buy those varieties again. For cucumber, leave the last nice cukes on the vine. They will turn orange or yellow. A few weeks after that, harvest and save the seed. Always save the seeds from the nicest specimens you can and the ones that you love or do especially well in your garden. Check the pack though, if it was a hybrid (look for an F1) don’t save those seeds, they won’t “come true.”
Make more plants! Divide iris, cannas, daylilies, liriope, and amaryllis. Move to new areas of the garden or give them to friends or neighbors.
Harvest cowpeas. If you grew black-eyed peas last month, they should be dried on the vine by now. Harvest and store in a cool, dry place.